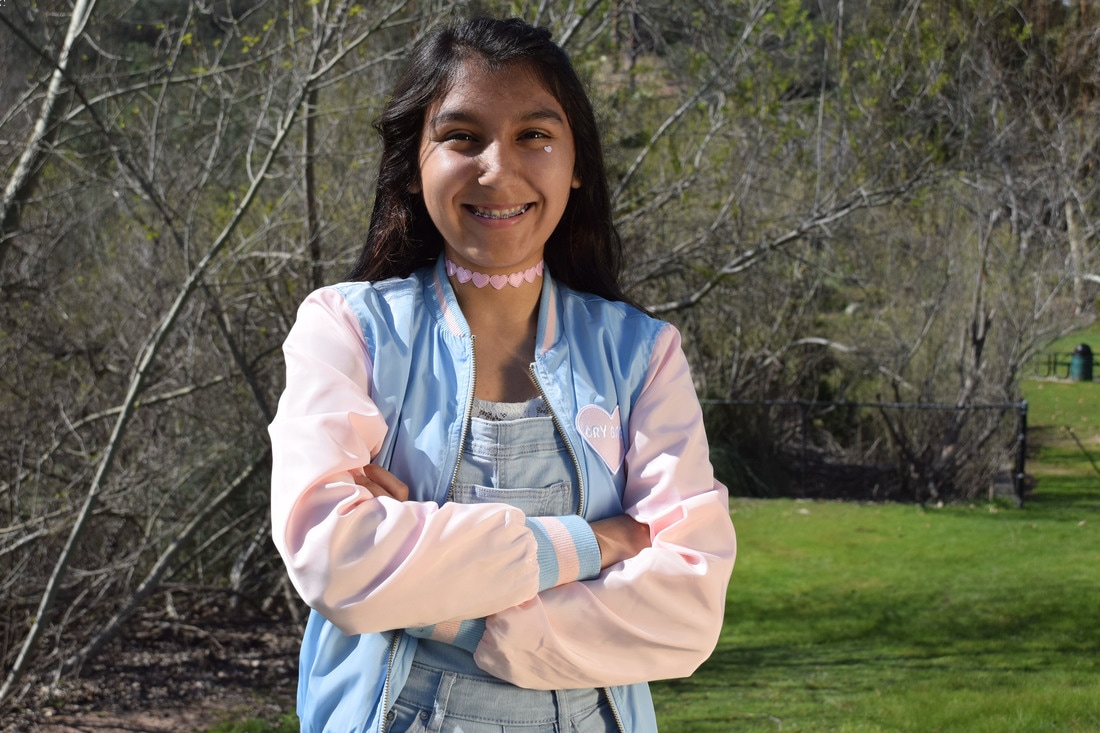
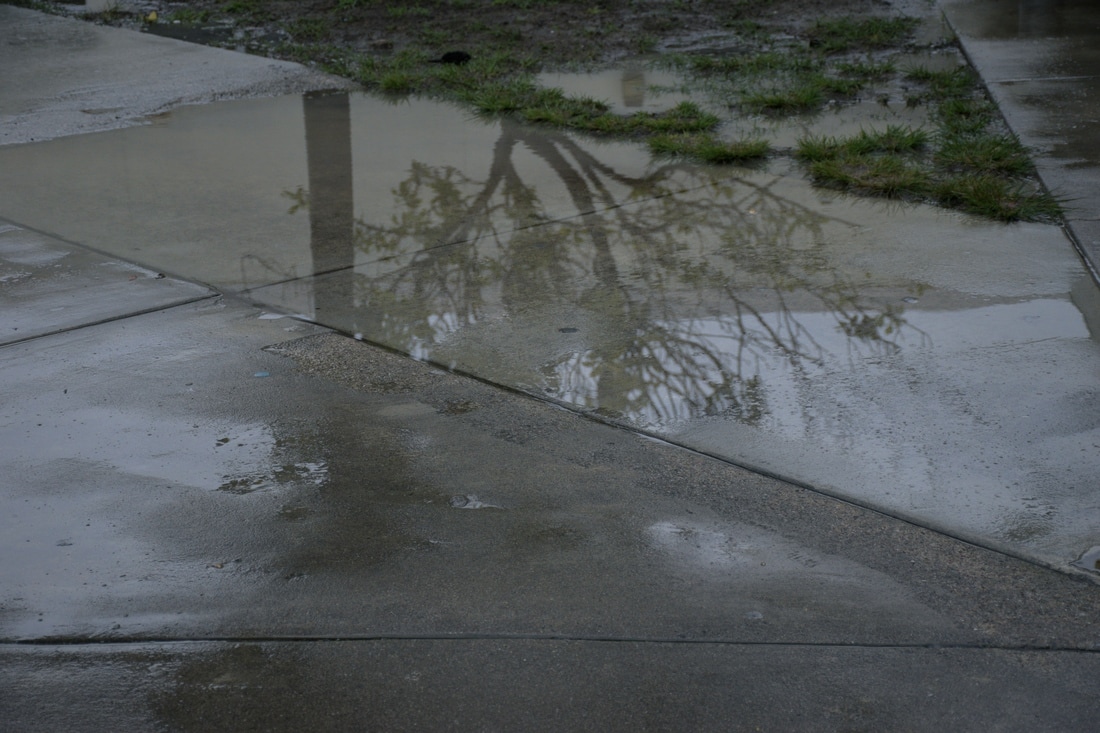
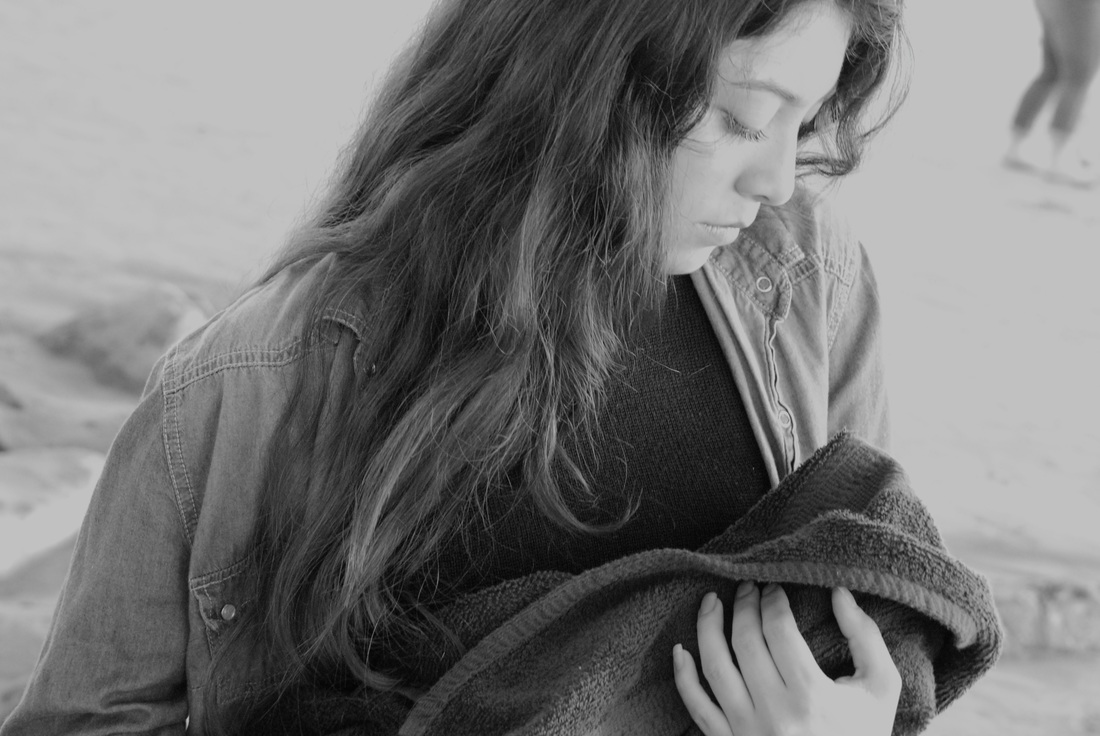
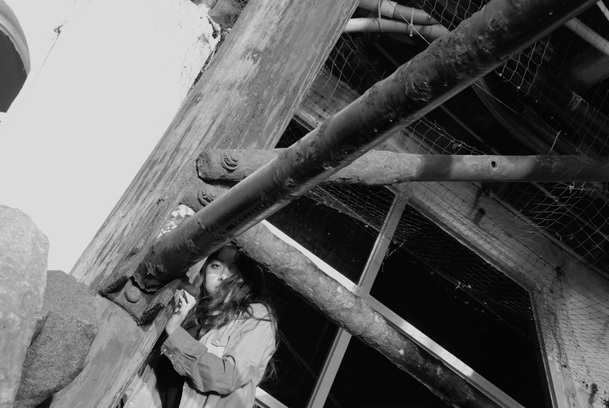
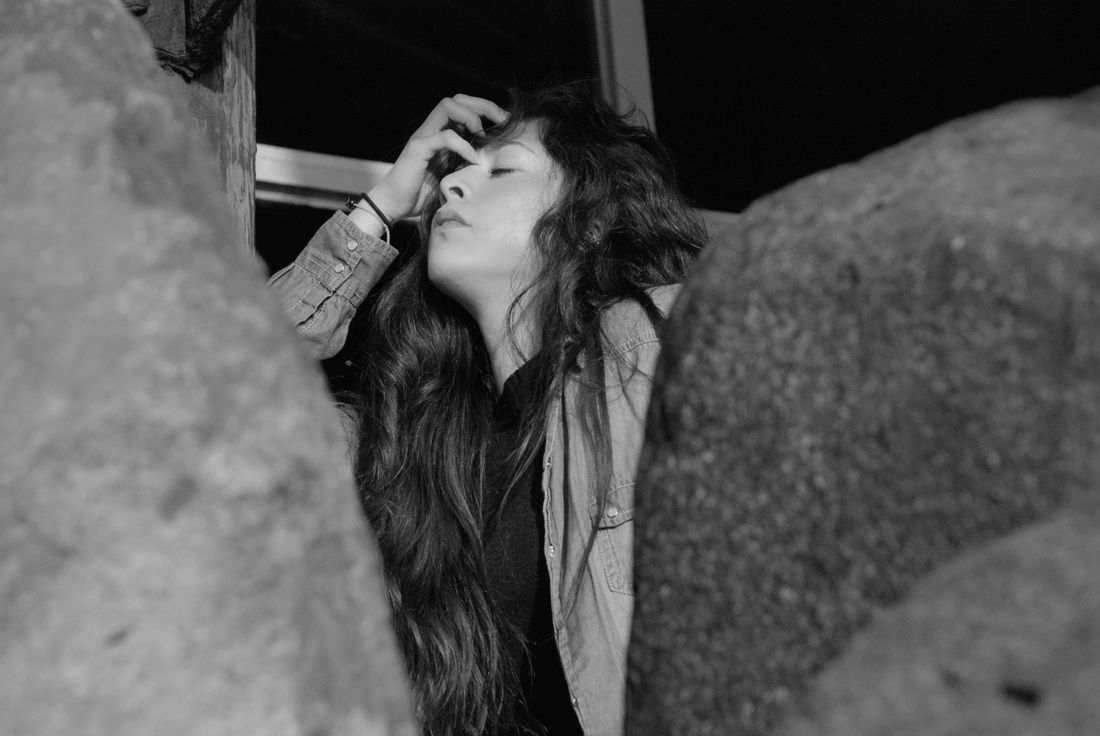
 ISO 400 aperture f/8 shutter speed 1/1,500 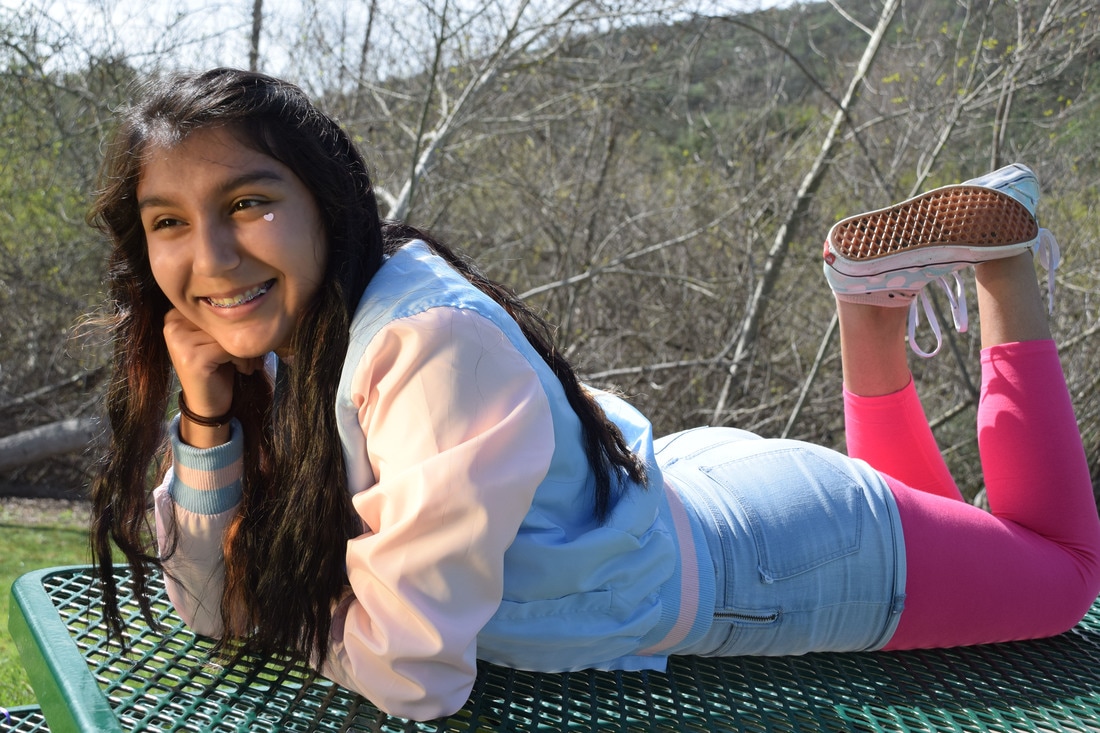 ISO 400 aperture f/8 shutter speed 1/750 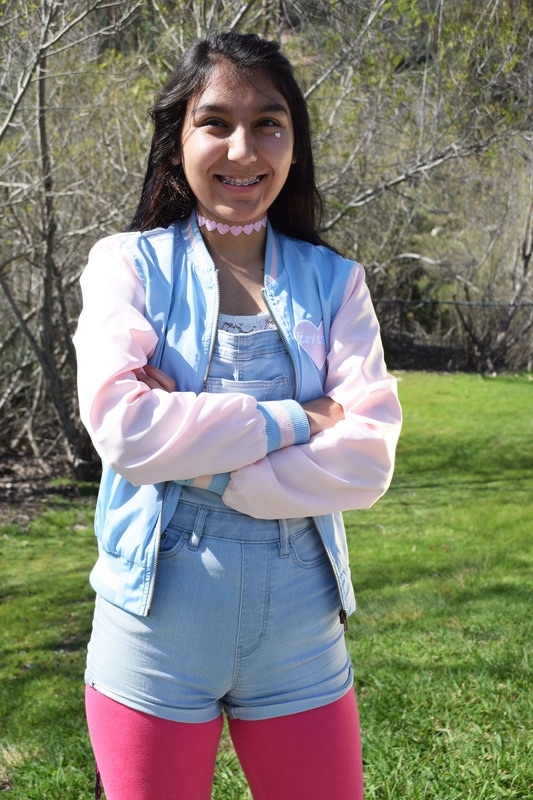 ISO 400 f/8 shutter speed 1/1,000  ISO 400 aperture f/8 shutter speed 1/1,000 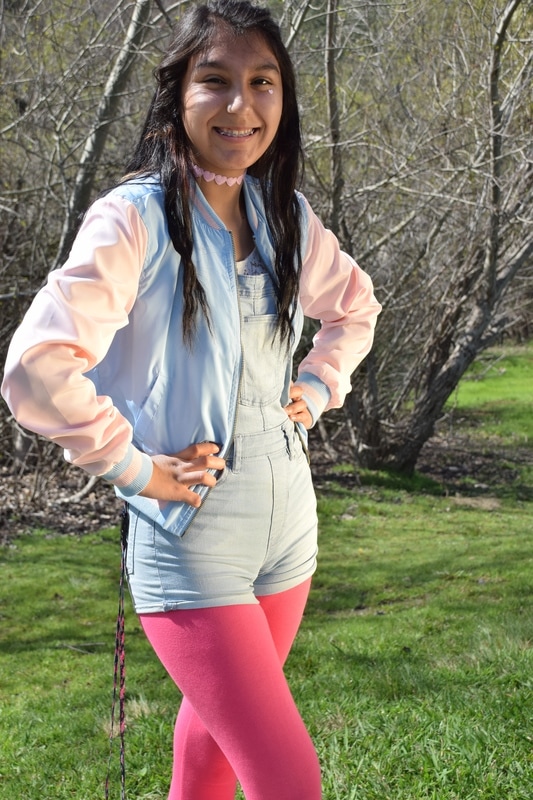 ISO 400 aperture f/8 shutter speed 1/1,000 What I learned about portraiture when going to the duck pond was that when taking a portrait photo it's all about the lighting and angling to the post. The poses we used were similar to the ones on the paper but make them into a more funner way. Using a reflector on my model made such a difference it helped the lighting but, we mostly just used the gold side of the reflector because it has the nice gold lighting even though it would make the model's eye water. Retouching the photos on photoshop was kind of easy and made a difference to hide some blemish on the model skin. It also helped with not making the background to blurry nor to dark/light. Some famous portrait photographers make about $34,933 or more depending on what events there hider from.
0 Comments
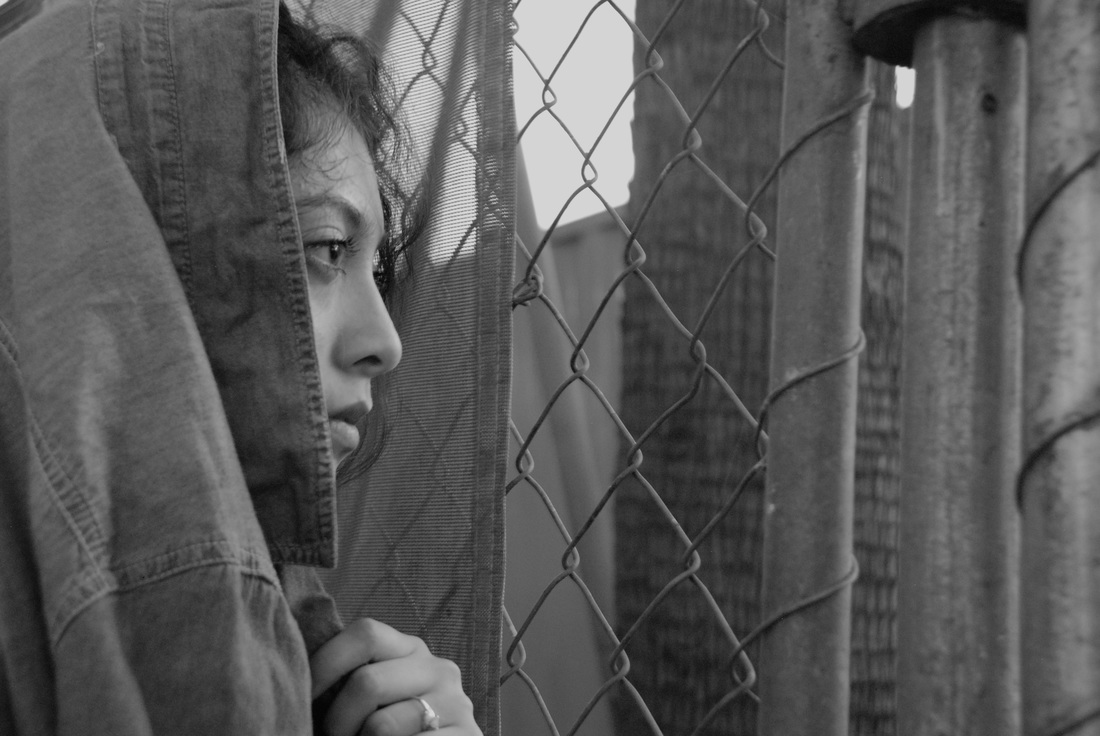
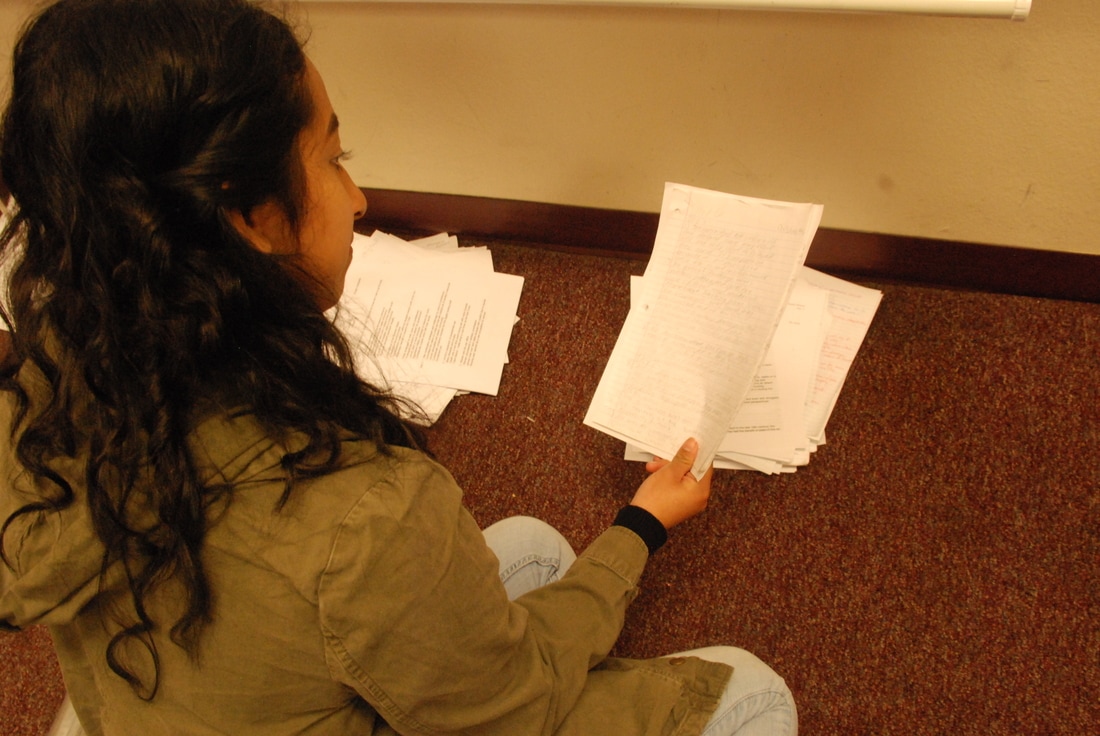 This student wrote an amazing essay on what she wants to become later on in life. Looking down on the highest grade she's ever gotten in English made her think of what she really wants to become later on in life and all the schooling that she will have to do to have a career. Education is a big part of if you want to be successful and have money because now in days every things expensive. Maybe this essay was just the begging of a student actually thinking of life In the education world. .
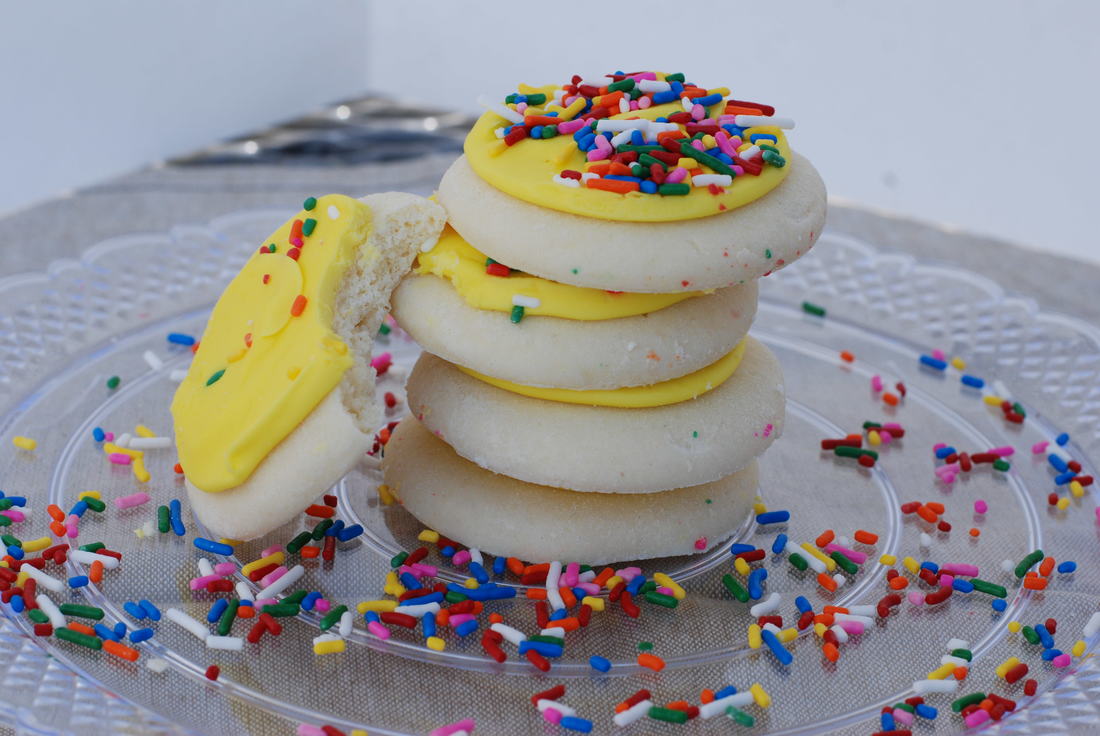 Aperture f/8 ISO 320 1/180 of a second 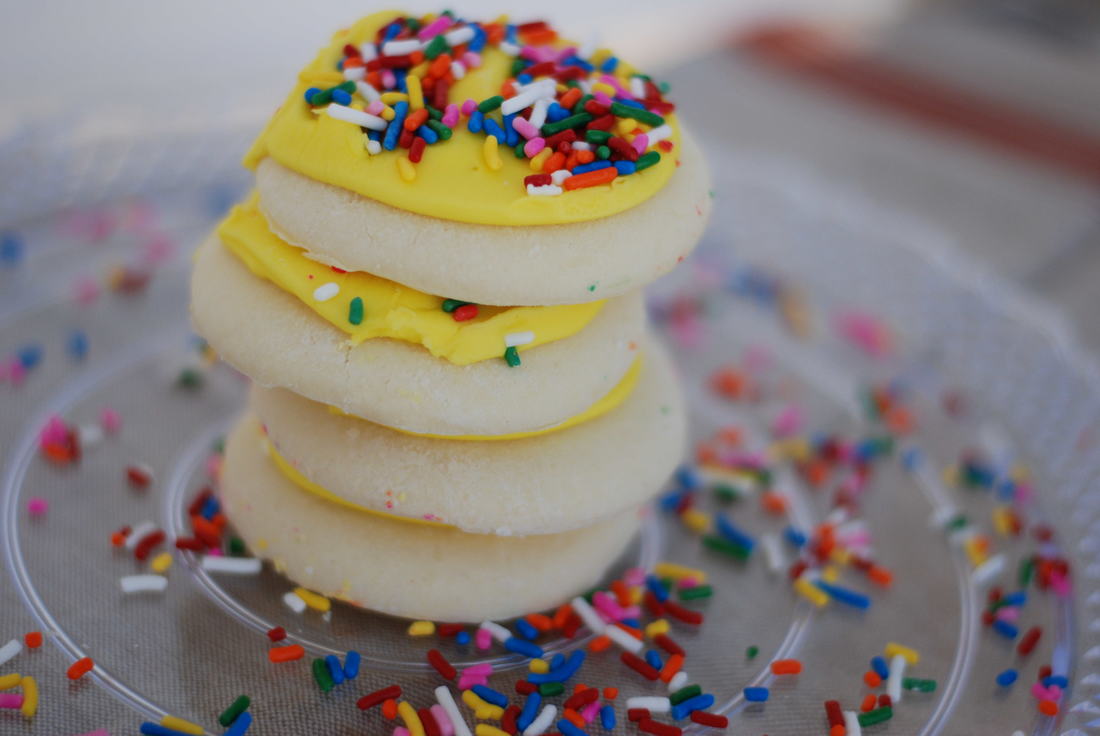 Aperture f/ 1.8 ISO 320 1/4,000 of a second 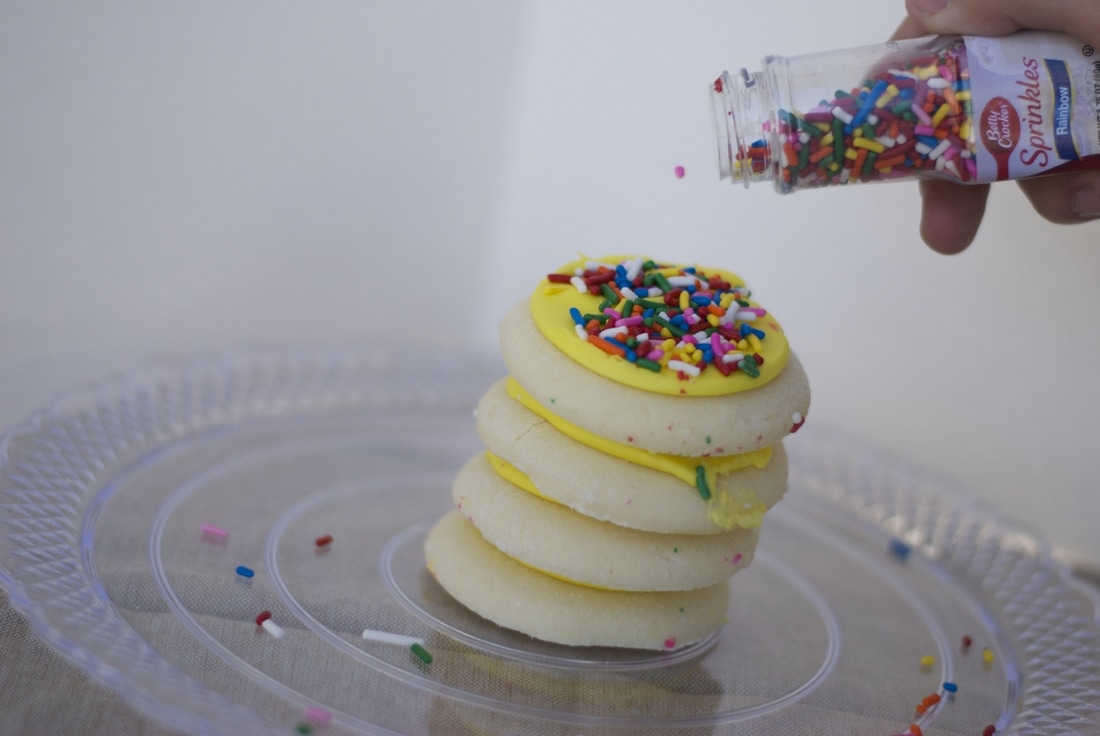 Aperture f/1.8 ISO 320 1/4,000 of a second 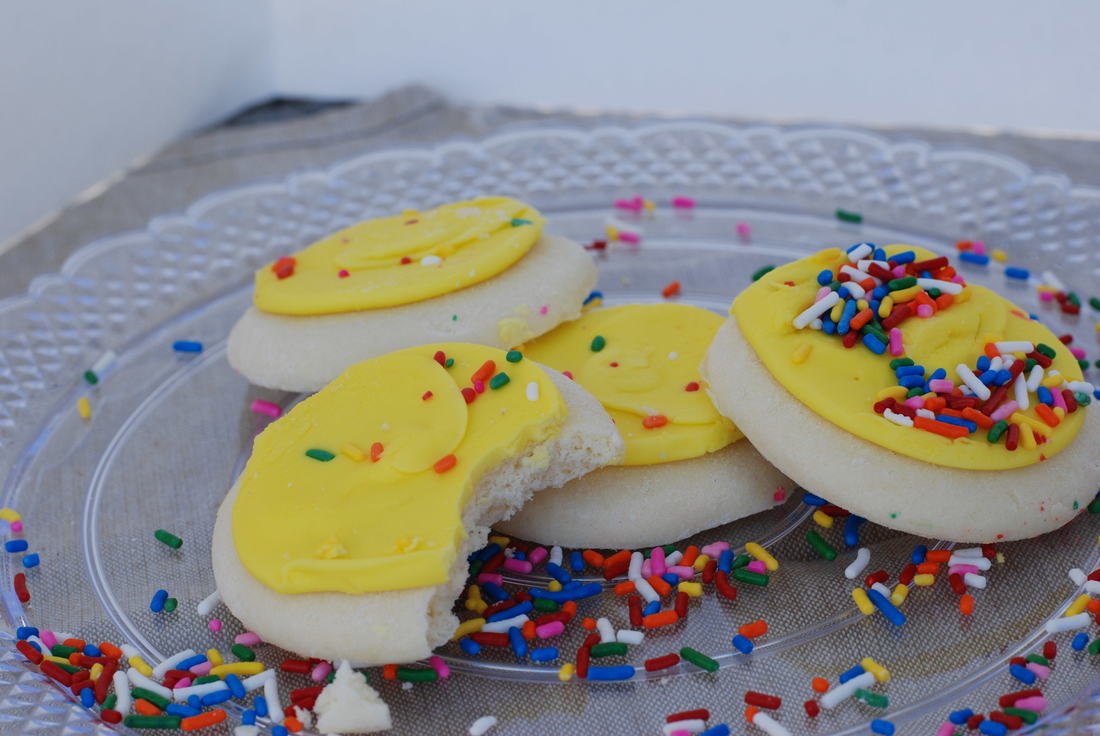 Aperture f/8 ISO 320 1/180 of a second 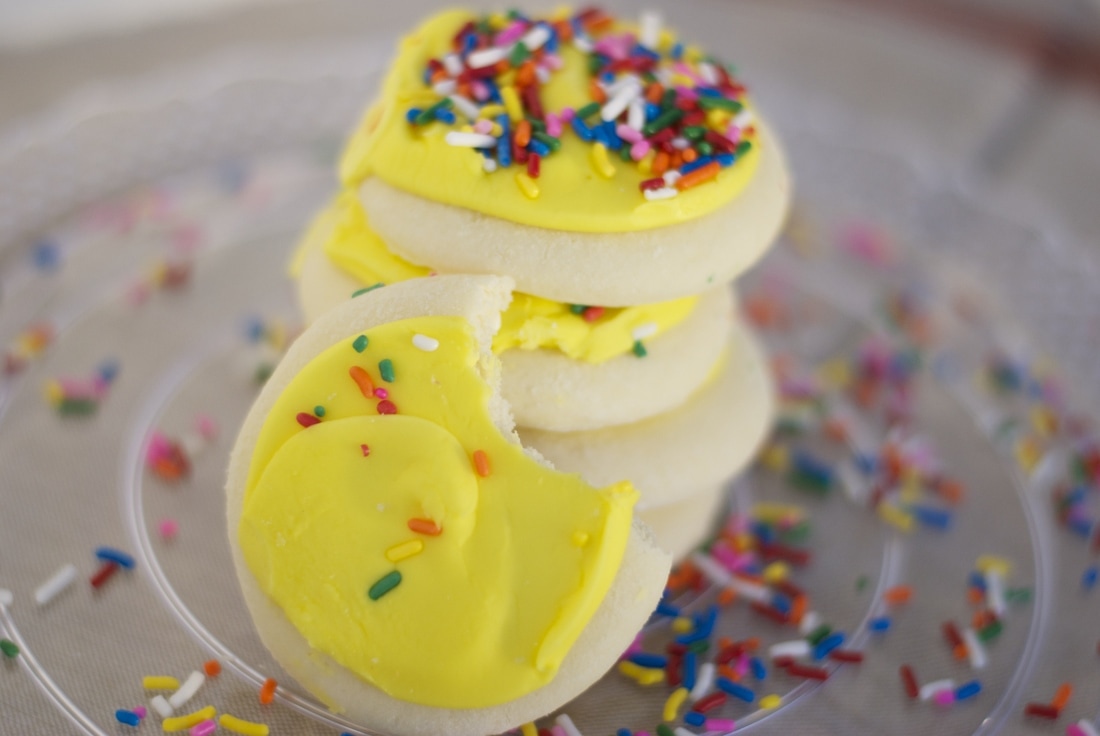 Aperture f/1.8 ISO 320 1/4,000 of a second 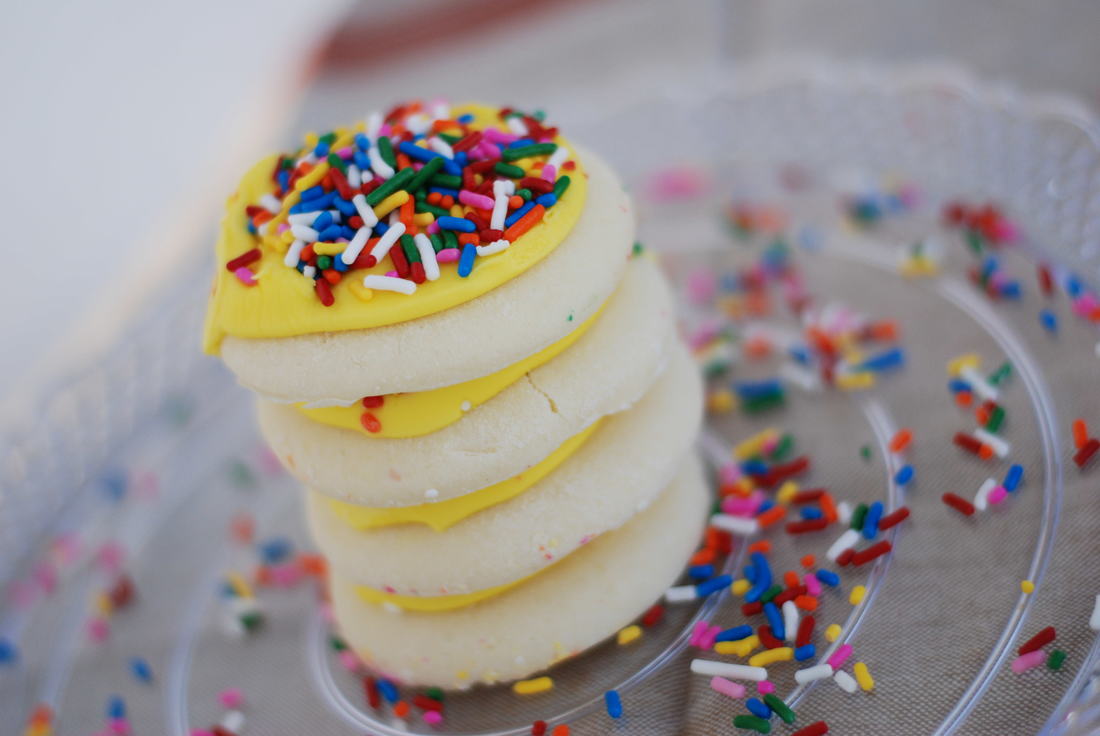 Aperture f/1.8 ISO 320 1/4,000 of a second For my food photography I brought a glass plate, yellow sugar cookies, and rainbow flakes. The props I brought was a table cloth and a white tan background. What I learned about food photography was that not only do you need someone to take the picture but you also need a food stylist which get paid plenty on money. As well as how the food photographers take hours to make food look so good by using plenty of props like instead of using actual milk they use glue or hair products. In order to make my food look like a professional photographer i had to take time to get the right lighting, using the props, and more. Many restaurants use professional photographers to take pictures of there food to attract people but sometimes when you see the food in person it looks way different form the picture and might not taste good or something. I think I was successful on my food photography by making it look like an actual professional took the photo even though I didn't even take hours to take a picture of something so simple of tens sugar cookies.Then, it was top of the ones in my class which was a good thing in taking food photography which easy and only took an hour.
 In order to do my name project I looked around the school to see where my letters will be and it was interesting because my letters where kinda everywhere throughout the school. After taking the picture I opened up photoshop, used the 5 letter templet, uploaded the photos on photoshop, edited each photo then make it black and white. Although i could've fixed my I a little closer so it won't look stretch out that much. I liked how it turned out.
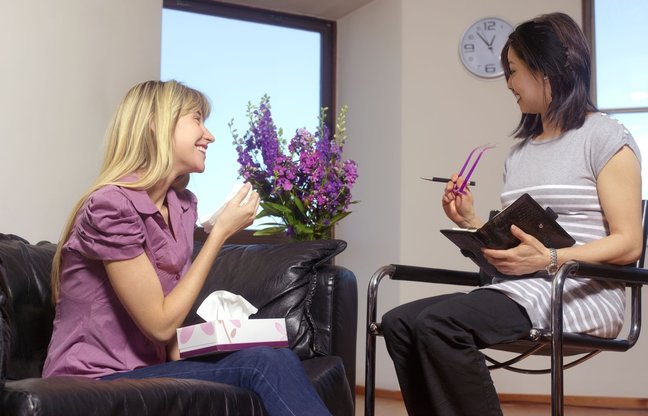 My career in life I'm a psychologist therapist for married couples. On my daily basis I work 5 days a week always meeting after meetings with all types of different married couples. Each season is 2hrs long either together or one by one maybe sometimes even 3hrs. Although I'm not in the office couples tend to call me on the weekends which is sometimes fine because I charge them more. 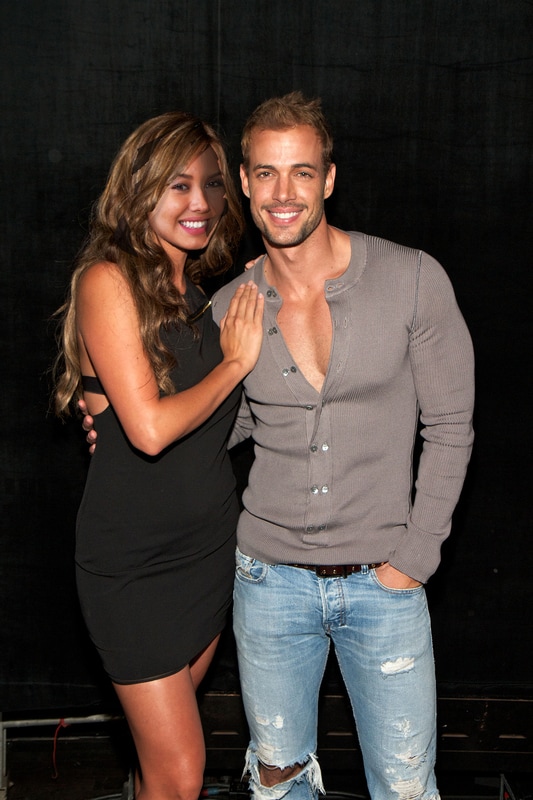 I chased this celebrity because he's one of my favorite Mexican actor's in the novelas I watch. Plus he's kinda cute!
In oder to get my face on this photograph First I went on photoshop, next layered both photos together, after I sized both images to have the correct size for my face to fit on her face, then I just transformed my face to match on the other face as well as getting the colors together to contrast. Last I had my face on her's and you can't even feel that much.  Before : Crop ISO 3200 aperture f/18 second. 1/125 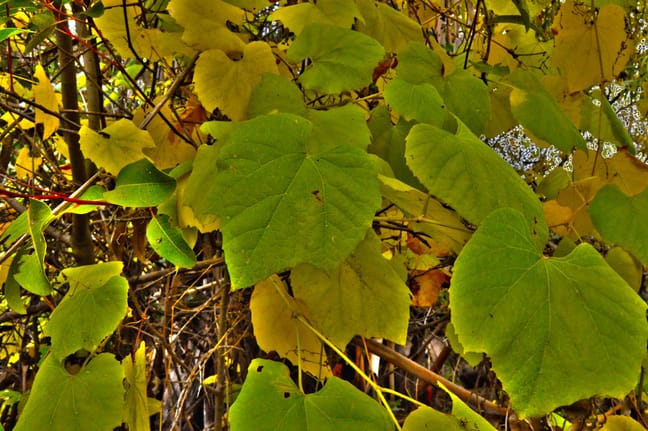 AFTER  Before: aperture f/16 1/80 of a second ISO 3200  AFTER  Before: Line aperture f/16 ISO 3200 1/90 of a second  AFTER 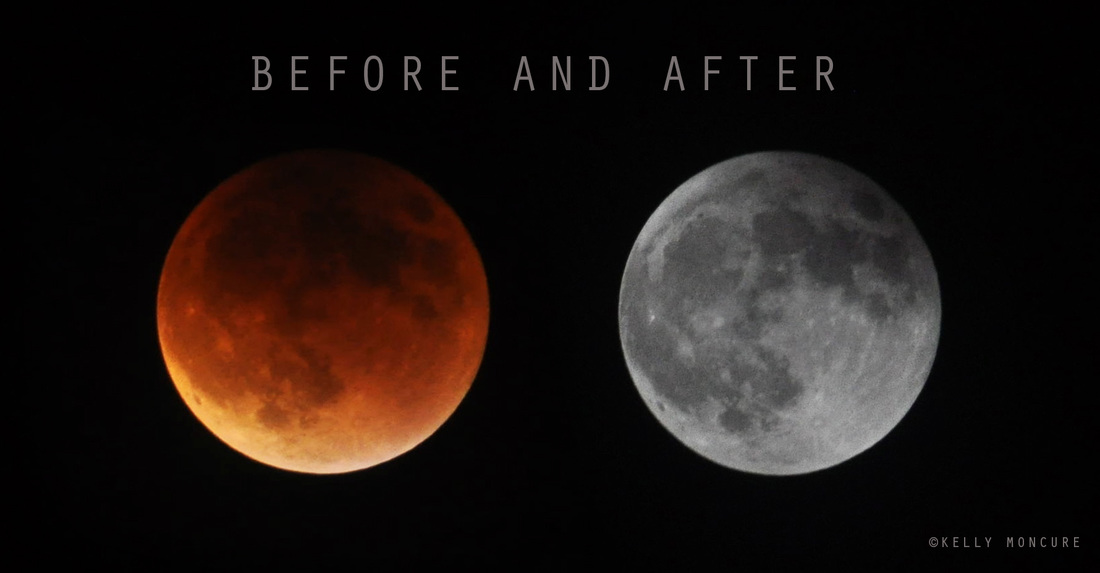 Blood Moon Lunar Eclipse, September 27, 2015. Left image: 70-300mm lens @ 270mm, ISO 1000, aperture f/5.3, shutter speed 1.3 secs. Right image: 70-300mm lens @ 300mm, ISO 800, aperture f/13, shutter speed 1/1250 sec. To photograph the moon:
1. Use a tripod! A flat surface will only allow you to shoot straight, and shooting the moon means that you'll be shooting up and constantly re-adjusting the tripod as the moon moves throughout the night. 2. Use a shutter release cord, remote or the camera's self timer if you don't have one, so that you don't move the camera when pressing the shutter release during a long exposure. 3. Use a zoom lens and zoom in as much as you can to the moon. It's okay if it's not a super fancy lens, this was shot using a 15 year old $100 lens. Focus in on the craters and details on the moon. 4. ISO 1250- 1600, so that you can use as fast a shutter speed as you can without losing detail-the longer the shutter speed, the more chances you have the camera will shake even slightly in the wind, resulting in an out of focus photograph. 5. Aperture priority of f/5.6 since you are not worried about capturing any details other then the moon. 6. Bracket your exposure, meaning over expose and underexpose the photograph from what the camera is telling you. Generally the camera will overexpose the moon, so you'll get nothing but a white blob in the sky. Use the exposure compensation button (the +/- button below the shutter release) and change the exposure to -0.5, then -1.0, then -1.5 and so on, until you start seeing detail in the moon. You may go as far as -5.0 exposure compensation to get what you need. 7. Take a fair amount of photos and keep refocusing as the night progresses. The photographs may look focused on the camera's display, but you won't really see if they're completely in focus until you upload them onto your computer screen. |
AuthorI enjoy taking pictures and just capturing the beauty and truth after taking a photo.Then getting to edit them. Archives
May 2017
Categories |

 RSS Feed
